
iPhone Microphone Not Working: How to Test Calls, Video, and Apps
If people cannot hear you on calls, voice notes, FaceTime, or recording apps, the problem is often easier to narrow down than it first appears. An iPhone…
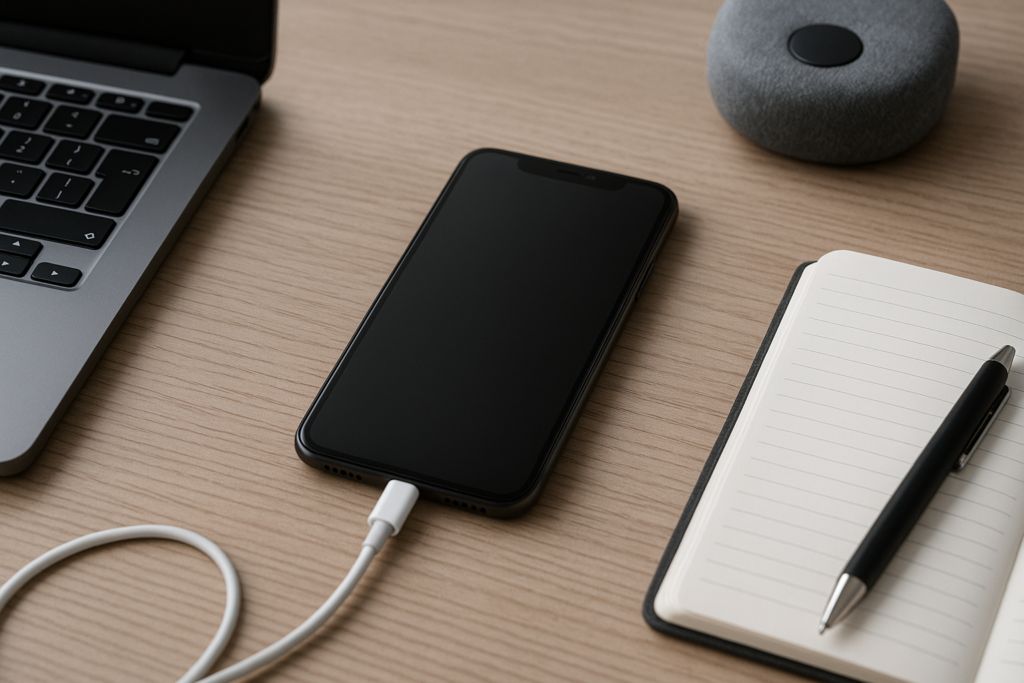
If people cannot hear you on calls, voice notes, FaceTime, or recording apps, the problem is often easier to narrow down than it first appears. An iPhone microphone issue can come from a blocked mic opening, a privacy setting, a damaged accessory, a software glitch, or a hardware fault. The key is to test the microphone in a few different places so you can tell whether the issue affects one app or the whole phone.
This guide walks you through simple checks for calls, video, and apps, plus a few practical steps for homeowners, business owners, and anyone who relies on their iPhone for daily communication. If you want safe, practical guidance without guessing, iPhoneXpert can help through remote help or the relevant iPhone help page.
Start with the most common microphone checks
Before you assume the microphone is damaged, check the basics. Many “microphone not working” problems are caused by something simple that blocks sound or changes where the iPhone is listening.
- Remove the case and any screen protector or accessory that may cover a mic opening.
- Check for dirt, lint, or pocket debris near the bottom microphone, front microphone, and rear microphone areas.
- Unplug Bluetooth devices such as earbuds, headsets, or car audio systems so the iPhone is not sending audio somewhere else.
- Restart the iPhone to clear temporary software glitches.
- Update iOS if an update is available, especially if the issue started after an app or system change.
If you use your iPhone for work calls, client messages, or school pickup coordination, these quick checks can save time before you move to deeper testing.
Test the microphone during a regular phone call
A normal call is one of the best ways to test whether the iPhone microphone is working in a real-world situation. Call someone you trust and ask them to listen carefully for your voice quality, volume, and any cutting out.
What to try during the call
- Speak normally, then speak a little louder to see if the sound changes.
- Switch to speakerphone and ask whether the other person hears a difference.
- Use the phone’s bottom edge and top edge carefully, since different microphones may be used depending on the mode.
- Try the call with and without headphones or a Bluetooth device connected.
If the other person hears you clearly on speakerphone but not during a standard call, that can point to a microphone path issue, accessory problem, or a setting that is routing audio incorrectly.
For business owners, this matters because a microphone problem can look like a bad signal or a dropped call when the real issue is local to the device. Testing with a second person helps separate network issues from iPhone issues.
Check video recording and voice memo apps
Calls are only one part of the test. Your iPhone may work in one app but fail in another, which helps identify whether the problem is system-wide or app-specific. Video recording and voice memo apps are especially useful because they let you hear exactly what the microphone captured.
How to test with video
- Open the Camera app and record a short video.
- Speak from a normal distance, then from a little farther away.
- Play the video back and listen for your voice, background noise, and any distortion.
- Try recording with the front camera and the rear camera if possible.
How to test with Voice Memos
- Open Voice Memos and record a short message.
- Pause, move the phone slightly, and record again.
- Play it back with the volume up.
- If the recording is very quiet, muffled, or missing sound, note whether the issue happens every time.
Video and voice memo tests are useful because they often reveal whether the microphone is picking up sound at all, or whether it is recording but at a very low level. That difference can help you decide whether to keep troubleshooting or move toward repair support.
Test microphone access in apps and privacy settings
Sometimes the microphone itself is fine, but an app does not have permission to use it. This is common after installing a new app, changing privacy settings, or restoring a phone from backup.
Check microphone permissions
- Go to Settings.
- Look for Privacy & Security, then Microphone.
- Review which apps are allowed to use the microphone.
- Turn on access for the apps you want to test.
Then test the app again. If one app works and another does not, the issue may be app permissions rather than hardware.
Useful apps to test
- FaceTime or another video calling app
- Voice Memos
- Camera video recording
- Messaging apps with voice note features
- Meeting apps used for work or school
If you manage a small business, this step is especially important for staff phones used for customer calls, delivery coordination, or remote meetings. One denied permission can look like a device failure when it is really a settings issue.
Look for signs of an accessory or routing problem
Many microphone complaints are actually caused by audio being routed to the wrong place. Wired headphones, Bluetooth earbuds, car systems, and some cases can interfere with how the iPhone handles sound input.
Try these checks
- Disconnect Bluetooth and test again.
- Remove any Lightning or USB-C accessory.
- Test without headphones, even if they were not actively playing audio.
- Check whether the iPhone is using speakerphone, a headset, or a car connection by mistake.
If the microphone works after disconnecting an accessory, the issue may be with that accessory rather than the iPhone. That is common with older earbuds, damaged cables, and some third-party accessories.
For homeowners, this can show up during hands-free calls in the kitchen, garage, or home office. For business owners, it often appears in vehicles or while using a headset between appointments.
When the problem may be hardware
If the microphone fails in calls, video, and multiple apps, and permissions or accessories do not explain it, hardware becomes more likely. That does not automatically mean the phone is beyond help, but it does mean the issue may need a closer look.
Common hardware-related signs
- People cannot hear you in any app or call mode.
- Recordings are silent or nearly silent.
- The microphone works only when the phone is held a certain way.
- Sound cuts in and out after a drop, water exposure, or heavy dust exposure.
- The issue started after a repair, battery change, or accessory damage.
Microphone hardware can be affected by impact, moisture, corrosion, or internal wear. In some cases, the problem is not the microphone itself but a connector, board issue, or debris inside the device. Avoid poking into openings with sharp tools, since that can make the problem worse.
Practical tips for homeowners and business owners
Microphone problems are more than an inconvenience when your phone is part of daily life. A few practical habits can reduce confusion and help you decide what to do next.
For homeowners
- Test the microphone in a quiet room and again in a normal household setting.
- Check whether the issue happens after the phone has been in a pocket, bag, or kitchen area where lint and moisture are common.
- Keep a backup way to contact family or emergency services if your phone audio is unreliable.
For business owners
- Test calls before an important client meeting or service appointment.
- Keep a second communication option ready, such as email or a business line.
- Make sure staff know how to check microphone permissions after app updates or phone changes.
- Back up important contacts, messages, and files before any reset or repair step.
These steps are practical, not dramatic. The goal is to keep communication moving while you narrow down the cause.
When to get help and what to do next
If your tests show that the microphone fails across calls, video, and apps, or if the problem started after a drop or moisture exposure, it is time to get more specific help. A careful diagnosis can save time and prevent unnecessary resets or repeated troubleshooting.
Before any reset, transfer, or repair visit, back up your iPhone if you can. That protects your photos, messages, notes, and other important data if a deeper fix is needed.
If you want safe, practical guidance, use iPhoneXpert remote help or the relevant iPhone help page. iPhoneXpert can help you work through microphone testing, app permissions, accessory checks, and next steps without guesswork. If you are dealing with a work phone, a family phone, or a device you rely on every day, getting the right guidance early can make the process much easier.
Use iPhoneXpert tools before you spend money.
Compare repair, replacement, storage, security, buying, and remote-help options with practical tools built for everyday iPhone owners.
Reviewed for practical iPhone, Mac, and device-care guidance.
iPhoneXpert content is written to help readers make safer repair, buying, setup, storage, iCloud, and security decisions. Recommendations should prioritize fit, compatibility, safety, and value.
How this guide is maintained
This article is part of the iPhoneXpert reader guide library. We review practical repair, protection, buying, and troubleshooting pages for clarity and usefulness as devices, software, and repair choices change.
Need help deciding what to do?
Compare repair costs, replacement value, data risk, and urgency before you spend money.
Repair or replace?