
iPhone Won’t Turn On: A Calm Step-by-Step Checklist
If your iPhone suddenly looks dead, it can feel urgent fast. The good news is that a black screen does not always mean a major repair. In many cases, the…
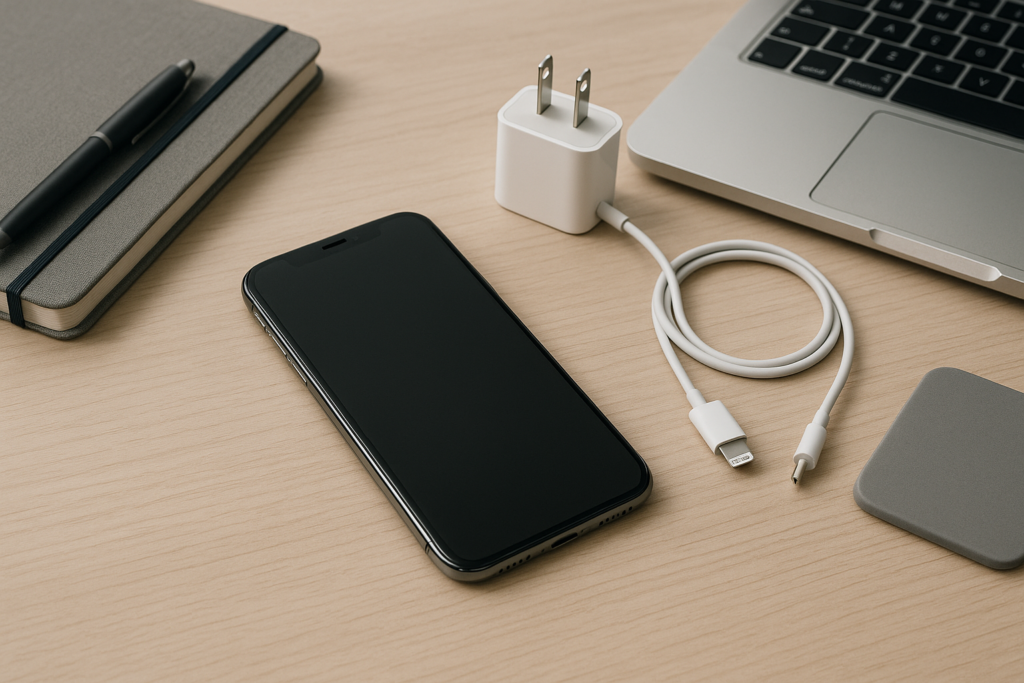
If your iPhone suddenly looks dead, it can feel urgent fast. The good news is that a black screen does not always mean a major repair. In many cases, the issue is a drained battery, a frozen system, a charging problem, or a display that is not showing what the phone is actually doing. This checklist walks you through the safest steps first, so you can avoid making the problem worse and get a clearer idea of what is happening.
Whether you use your iPhone for family life, work calls, customer messages, or mobile banking, a phone that will not power on can disrupt your day. If you are in a hurry, stay calm and work through the steps in order. If you need help along the way, iPhoneXpert offers remote help and practical guidance for iPhone issues like this.
Start with the simplest checks
Before assuming the phone has failed, rule out the easy causes. A dead battery, a loose cable, or a charger that is not delivering power can make an iPhone appear completely off.
1. Plug it in and wait
Connect the iPhone to a known-good charger and cable, then leave it alone for at least 15 to 30 minutes. If the battery is deeply drained, the screen may stay black for a while before anything appears. Use a wall outlet rather than a laptop or car charger if possible.
2. Check the charging setup
- Try a different cable if you have one.
- Try a different power adapter.
- Try a different wall outlet.
- Look inside the charging port for lint or debris.
If the port is clogged, the cable may not seat properly. Avoid using metal tools or anything sharp. A gentle visual check is safer than poking around inside the port.
3. Look for signs of life
After a few minutes on charge, check for a vibration, sound, screen glow, or battery icon. Sometimes the display stays dark while the phone is actually starting up. If you have a case or screen protector, remove it temporarily in case it is interfering with the display or buttons.
Try a force restart
If the iPhone still seems unresponsive, a force restart can help when the system is frozen. This does not erase your data. It simply forces the device to reboot.
For iPhone 8 and later
- Press and release Volume Up.
- Press and release Volume Down.
- Press and hold the Side button until you see the Apple logo.
For iPhone 7 and iPhone 7 Plus
- Press and hold the Side button and Volume Down button together.
- Keep holding until the Apple logo appears.
For iPhone 6s and earlier
- Press and hold the Home button and the Side or Top button together.
- Keep holding until the Apple logo appears.
If the phone restarts, let it finish booting before doing anything else. If it does not respond, move to the next step rather than repeatedly pressing buttons.
Check whether the problem is the screen, not the phone
Sometimes an iPhone is on, but the display is not working. This can happen after a drop, water exposure, or an internal display fault. If the phone rings, vibrates, makes charging sounds, or is recognized by a computer, the issue may be the screen rather than the full device.
What you can safely test
- Call the iPhone from another phone.
- Plug it into a computer and see whether it is detected.
- Listen for charging sounds or feel for vibration.
- Move to a darker room and look closely for a faint backlight.
If the phone appears to be running but the screen stays black, the next step is usually professional diagnosis. Avoid repeated hard resets if the device was dropped or got wet, since that can waste time when the real issue is hardware.
Think about recent events that may explain the failure
Recent damage or changes often point to the cause. A quick review can help you decide whether the issue is likely software, battery-related, or hardware-related.
Common causes to consider
- Battery drained completely after heavy use.
- Charging port packed with lint or pocket debris.
- Drop damage affecting the display or internal connectors.
- Water exposure, even if the phone seemed fine at first.
- Recent iOS update or app crash that froze the system.
- Accessory or cable issue that prevented charging.
For homeowners, this often happens after a weekend of travel, a long day of photos and video, or a phone left in a bag with a loose cable. For business owners, it may happen right before a client call, delivery update, or payment task. Knowing what changed before the phone stopped turning on helps narrow the problem quickly.
What not to do while troubleshooting
When a phone will not power on, it is tempting to try everything at once. A calm approach is safer and often more effective.
Avoid these mistakes
- Do not use random high-power chargers from unknown sources.
- Do not keep pressing buttons nonstop for long periods.
- Do not pry into the charging port with sharp objects.
- Do not place the phone on a heater, in direct sunlight, or in rice.
- Do not attempt a reset if you suspect liquid damage and the phone is still damp.
If the device may have gotten wet, power it off if it is on, disconnect accessories, and let it dry naturally. Charging a wet phone can create more damage. If the phone is already off and you suspect liquid exposure, a professional inspection is usually the safer next step.
When to stop troubleshooting and get help
If the phone still will not turn on after charging, a force restart, and a basic port and cable check, the issue may need hands-on repair or deeper diagnostics. That does not automatically mean the phone is beyond help, but it does mean the safest next step is to avoid guessing.
Get help sooner if you notice any of these signs
- The phone got wet recently.
- The phone was dropped and now stays black.
- The device gets unusually warm while charging.
- The battery swelled or the screen looks lifted.
- The phone turns on briefly, then shuts off again.
- The charging port feels loose or damaged.
For local users, this kind of issue often comes up when people are trying to get back online quickly for work, school, rides, deliveries, or family communication. A remote troubleshooting session can save time by helping you confirm whether the problem is the charger, the battery, the screen, or something else before you commit to repair.
How iPhoneXpert remote help can guide the next step
If you want safe, practical guidance without making the situation more stressful, iPhoneXpert remote help is a good place to start. We can help you work through the checklist, identify likely causes, and decide whether the issue looks like a simple charging problem, a software freeze, or a hardware fault that needs repair.
This is especially useful if you are not sure whether to keep troubleshooting, back up another device, or move straight to service. We focus on clear steps, privacy-first advice, and realistic next actions. We do not ask for passwords, verification codes, or private account access.
Good times to use remote help
- You want a calm second opinion before trying more steps.
- You are not sure whether the phone is actually dead or just not displaying.
- You need help deciding if the issue is safe to keep troubleshooting at home.
- You want guidance before visiting a repair shop or arranging service.
Final checklist before you give up on the phone
Before you assume the iPhone is finished, run through this short summary one more time:
- Charge with a known-good cable and adapter.
- Wait at least 15 to 30 minutes.
- Check the port for lint or debris.
- Try a force restart for your iPhone model.
- Look for signs that the screen may be the problem.
- Think about recent drops, water exposure, or update issues.
If none of that changes anything, professional help is the next sensible step. If you are in the middle of a busy day, do not keep experimenting and risking more damage. Use iPhoneXpert remote help or the relevant iPhone help page for safe, practical guidance, and get a clearer path forward without unnecessary guesswork.
Use iPhoneXpert tools before you spend money.
Compare repair, replacement, storage, security, buying, and remote-help options with practical tools built for everyday iPhone owners.
Reviewed for practical iPhone, Mac, and device-care guidance.
iPhoneXpert content is written to help readers make safer repair, buying, setup, storage, iCloud, and security decisions. Recommendations should prioritize fit, compatibility, safety, and value.
How this guide is maintained
This article is part of the iPhoneXpert reader guide library. We review practical repair, protection, buying, and troubleshooting pages for clarity and usefulness as devices, software, and repair choices change.
Need help deciding what to do?
Compare repair costs, replacement value, data risk, and urgency before you spend money.
Repair or replace?